
Your Cart is Empty

August 15, 2025 3 min read
Disclosure: This post contains affiliate links. If you purchase through these links, I may earn a small commission at no extra cost to you. I only recommend products I personally use and trust in my restoration work.
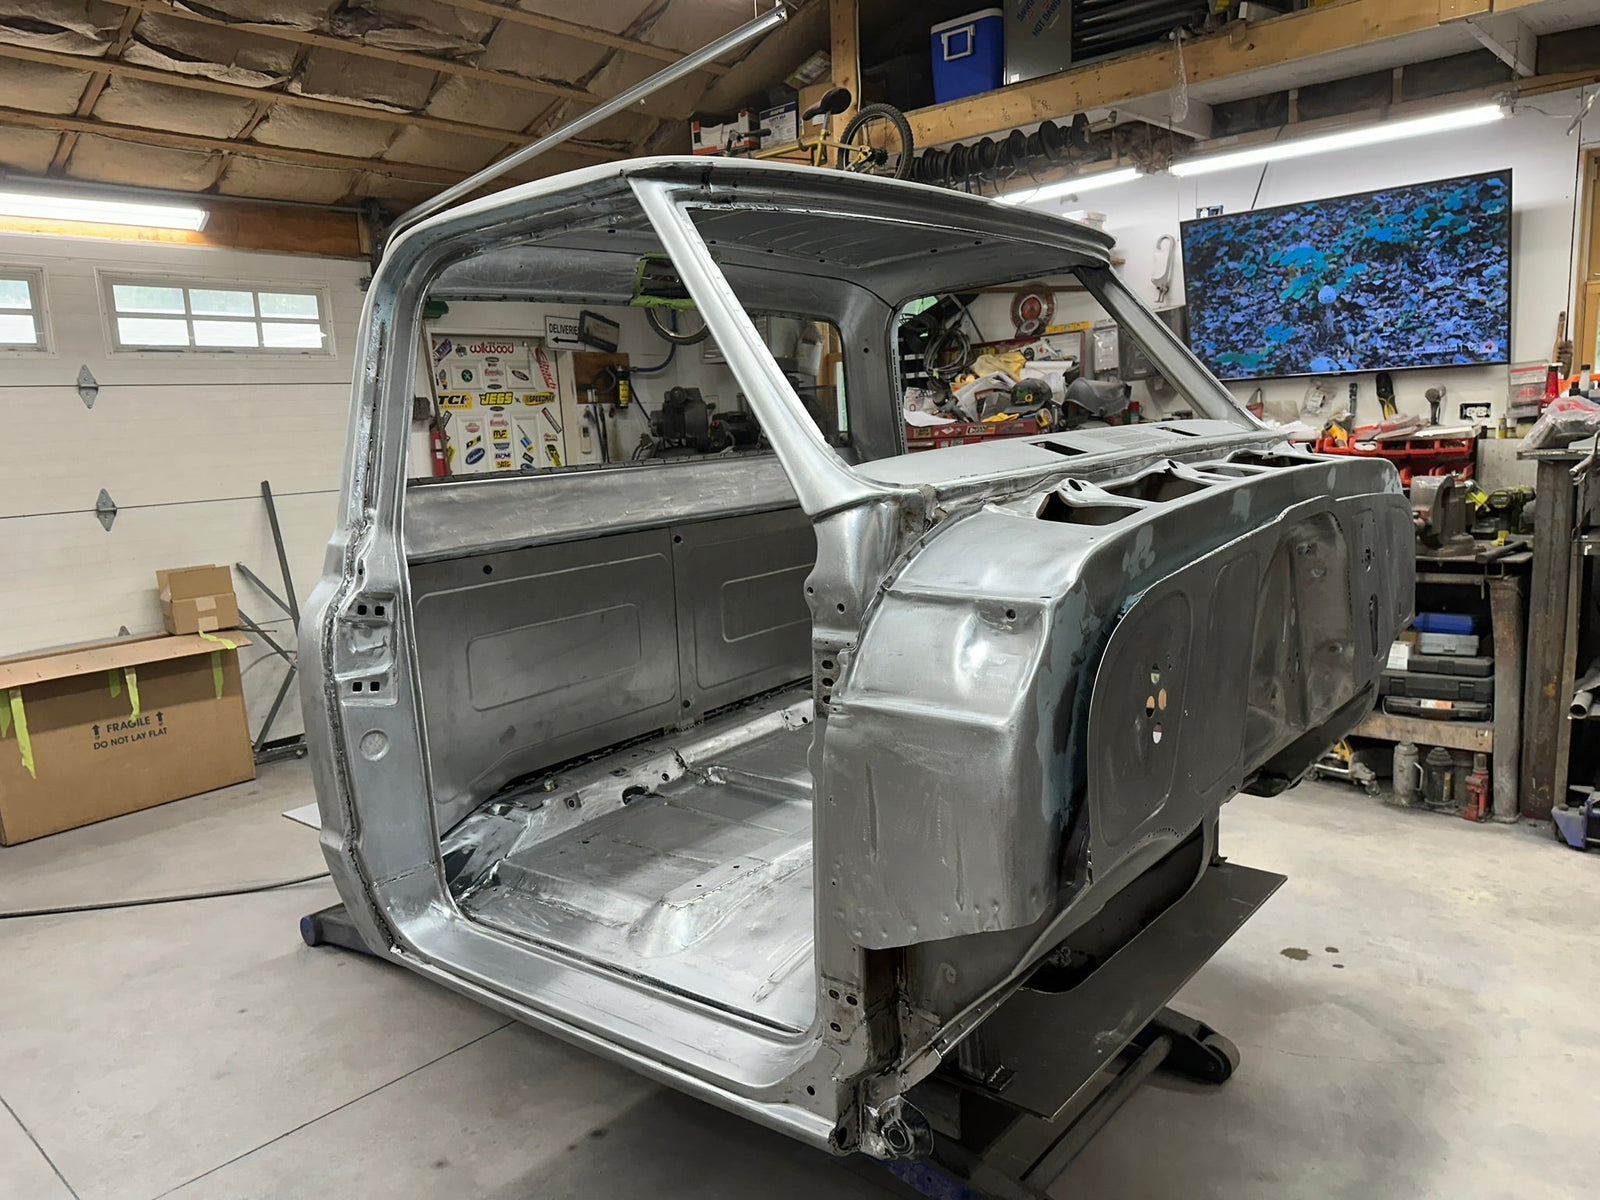
Spraying the inside of a Chevy C10 cab is one of those restoration steps that can make or break your build. When done right, you’ll end up with a show-quality interior finish that matches the exterior. Cut corners, and you’ll notice every flaw every time you open the door.
In this guide, I’ll walk you through exactly how I sprayed the inside of a C10 cab in my restoration shop — the same process I use on professional builds. This includes the prep work, sealer, base coat, and clear coat, along with the products I personally trust for flawless results.
Before picking up a spray gun, your surface preparation has to be dialed in.
Mask off everything you don’t want painted using 3M Green Masking Tape.
Clean the interior thoroughly to remove dust, grease, or contaminants.
Scuff all surfaces evenly so the paint adheres properly.
Any shortcuts in prep will show in the final finish — there’s no way around it.
For this job, I used:
Sealer locks down your surface, evens out the color, and creates a uniform base for your paint. Mix according to the manufacturer’s specs. Spray in even, overlapping passes, making sure to get into the tight areas under the dash, behind pillars, and around seat mounts.
I went with Restoration Shop Base Coat, reduced with UR60 Reducer. This is where the truck’s color really comes alive.
Keep your passes consistent.
Watch your gun distance — too close causes runs, too far leads to dry spray.
Apply in multiple light-to-medium coats for even coverage.
Flash Time: Allow 10–15 minutes or until the surface feels hand slick between coats. This ensures proper adhesion and prevents lifting when you move on to clear.
The clear coat gives you gloss, depth, and long-term durability. For this build, I used:
Apply two to three medium-wet coats, allowing 10–15 minutes or until hand slick between coats. Proper lighting is critical here — I used the Luma III Spray Gun Light Kit to see exactly how the clear was laying down. This helps avoid dry spray, runs, and uneven gloss.
Always spray with proper respiratory protection — I use the 3M Respirator.
Disposable mixing cups and a De-Cups System save cleanup time and help prevent contamination between coats.
Light up your work area — shadows hide dry spots and overspray.
Maintain a consistent spray pattern for every coat.
Pay extra attention to hidden areas like under the dash and behind pillars.
Document your work — I like using POV camera angles to review technique and for future reference.
Final Word:
This process isn’t limited to C10s — you can apply it to almost any cab or enclosed space during a restoration. The keys are thorough prep, consistent technique, and proper flash times. Follow these steps, and you’ll have an interior finish that’s just as clean and show-ready as the outside of the truck.